Crack Repair Help

Joined
11 Jan 2009
Messages
124
Reaction score
10
Location
Tyne and Wear
Country
United Kingdom
Happy Easter all,

I am currently redecorating my bathroom and I am trying to repair a crack in the ceiling.

I discovered that the crack was due to the board moving and this was due to the original plasterboarder using a ridiculously small piece of scrap timber to increase the joist width and then missing with most of their nails. I have therefore replaced with very secure timber and used screws to secure the board.

However I am now left with this.......

20220417_11373.jpg


The ceiling has previously been boarded and skimmed and then over skimmed at least once. I have taken a 3" strip back to the original plasterboard and have probably took the paper layer off, if that's what it was in those days. I am now left with a strip that varies in depth up to a maximum of around 10mm and I was hoping for some advice as to the best way to tackle it.

My initial thoughts are to PVA it a couple of times and then use plasterboard adhesive to make up the majority of the depth before using a skim coat. then to seal before using a flexible "crack free" paint. Any advice would be appreciated.

Thanks Mark.
 
Cheers!
I was planning to do that as well but forgot to put in the OP.
Should I also PVA after the adhesive stage prior to skimming or will the skim adhere well enough anyway?
 
PVA is a good idea on the plasterboard, as the facing paper has taken a fair bit of damage.

agree scrim tape over the exposed crack.

10mm at max is prob too much for skim alone to build up, so you need something to build it up a bit leaving 2mm ish for final coat. Depends what you have - plasterboard adhesive would probably be ok, or Bonding would be my choice if you have any.

for the final coat, if you’re inexperienced with plastering could always consider easi fill as an alternative. Sands better if you need some touching up.
I’d use the sides of the existing plaster as a guide each side to run a small trowel along.

where you have the crack off to the right, prob worth some screws on the boards there too, as you’re tidying up anyway and can fill any screw holes afterwards.
 
I'd climb up in loft and stick some strips on plasterboard bridging that crack going off to the right in your picture. Just blob and stick board across crack to make ridged. Won't come back.
I'd pva (normally use gardz) to seal prior to filling.
Make good over that rough looking board you've dug out first. Use damp sponge and knife to smooth filler.
Use fibre fuse tape set in the wet filler. Found that better than mesh or paper tape.

That crack going to the right in picture Id scrape off surface plaster with tungsten scraper. Seal. Fibre fuse tape set in filler so it's below the current surface level. No bump.
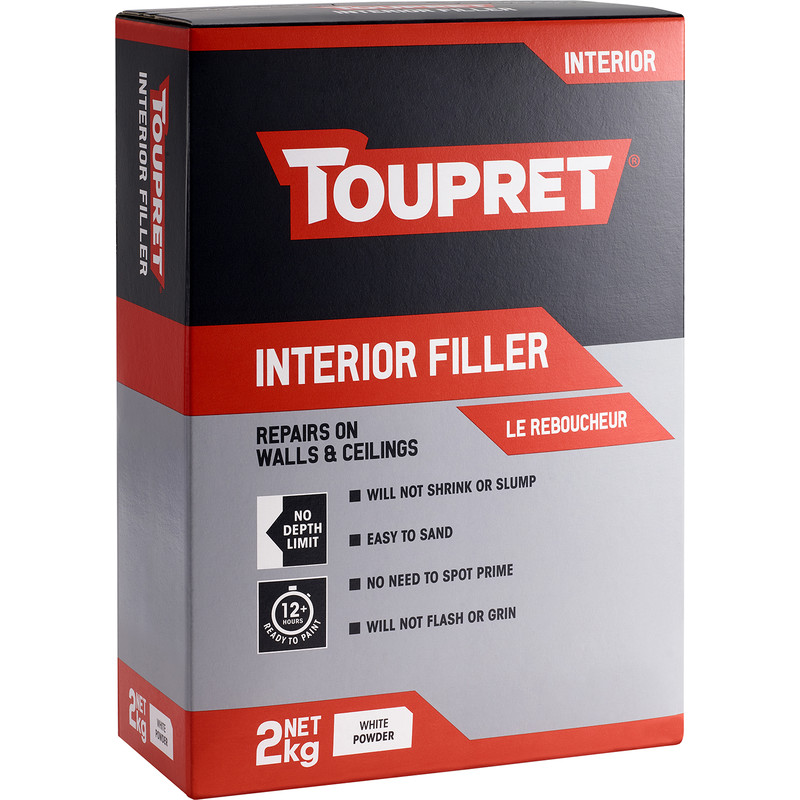
Normally I use troupret standard powder to do everything Inc sticking board over crack.
Second best for job is easyfill 20.
Not a fan of board adhesive for filing and making good. It's not a great product for that. Has problems sticking to emulsion or sealed surfaces. Don't sand down well. Not smooth after applying and don't like sticking to itself and many other reasons. It's only good for sticking plasterboard to blocks or lumping in holes cheaply although take and age to dry in deep fills
 
Last edited:
@NickB_99 @Wayners

Thanks for advice.
I was going to just ignore the crack to the right and use the flexible paint to cover it but I'm gonna take your advice and stick a few screws in and bridge the gap in the loft using a plasterboard offcut.

Is this the Troupret Standard powder....
63284.jpg


And is the easifill 60 just as good as the 20?

Mark.
 
Yeah. That's the stuff in box although I buy online in bigger quantities.
Easyfill 60 takes well over an hour to set. I find filling over just as setting is best way to build up. If filler dries it's best to seal before filling over so the faster setting materials are easier to use, well for me.
 
The Toupret sets chemically (like cement). The Easifill primarily cures through evaporation.

If you have a mixing tub with dried Easifill in it, you can wipe it clean with water. The Toupret will not breakdown when wet.

If you want a faster setting filler, look at Toupret Tx110.

A big problem with Easifill is that it is very soft. If you used that exclusively, you may find that you will notice a ridge where it meets the plaster after sanding.

Personally, although I use it from time to time, I am not a fan of Easifill. @Wayners is a decent decorator (I recognise him from a professional decorating site) unfortunately, there are too many "supposed" decorators that use Easifill because it is so cheap and easy to sand. Often they don't give a toss about the fact that if someone bumps in to it, it will dent, or that if used under regular emulsion in areas of high humidity it will become even softer (that said, regular emulsion should not be used in those circumstances anyway).

Prior to painting emulsioned plaster, I routinely sand the walls with a 5" DA sander, all too often the areas filled with easifill rip apart. I then have to sand away all traces of the easifill before using something like Toupret.
 
@opps
Thanks for that.
@Wayners also said he preferred the Toupret so I have bought some of that.
I got a bargain as they are selling off at Jewsons at for £1.20 for a 2kg box at the moment. :).


Wow, it should be about a tenner.

Unfortunately none of the Jewson's near me have any in stock.
 
OK, so I am still working on this crack, I'm self building a house during the day so have little enthusiasm for this sort of work when I get in on a night! and I have used the Toupret which seems to be a very good filler so thanks for that.
However being the numpty o_O that I am I totally forgot to put any mesh over the joint and TBH as it's my own house I cannot be bothered to start again.
I have however used multiple methods of securing each board together In the loft so I doubt it will ever crack again but only time will tell.
 
Back
Top