Last year, the mother in law was in a distraught state. She'd been ripped off by a dodgy roofer (some obscure relative) who left her with a leaking roof over her lean-to kitchen for 4 years. Water had got in and run down the walls, rotting the old kitchen carcasses. She'd tried the insurance company, but they wouldn't do anything as they had already paid the roofer to do the original job on the roof. Being family, she didn't want to take roofer to court so just resigned her self to 'putting up with it' as he wouldn't come back to fix the work.
Anyway. In steps I, Master Bodger, extraordinaire. Sort out the leaky roof with a roll of flashing and a swift squirt of expandy foam. Not a brilliant job but it stopped the leaks! Replaced the soggy ceiling and stripped off mouldy tiles that had roots growing behind them! The more work I did, the more crap i discovered and the more ****ed off with Buffalo bill, the roofer.
After the first 3 months or so of the roof leaking, the whole family noticed they had developed breathing problems (asthma etc..). As i ripped out the tiles and ceiling, I discovered a shed load of mould. Coincidence?
As her son's fiancee was expecting a kid, she asked me to find out how much it would be to replace the rotten carcasses and put the whole mess right so as to prevent the wee bairn from getting ill. After a bit of research, (B&Q, Howdens etc..) i came up with an estimate (without fitting or appliances) of around £850. She said she could only find £500 at the most and went away a glum plum.
Anyhoo, veeeery long story short, I decided to have a bash at building the units and doors myself. Have done a couple of joinery projects before with limited success so I thought I could handle making what is basically a bunch of open topped and fronted boxes. Easy...
MIL had liked the look of some units she'd seen in Ikea and asked if I could copy them. 'Suuure' said I. 'Eeeeasy!'
Trawled around the building merchants and timber yard to try and find materials that would do the job without breaking the budget. Opted for 12mm ply from TravisPerkins for the sides and backs and 2x3 cls from B&Q for the main frame. Decided to make the doors from 90x18mm smooth planed planking and 90x7mm T&G. Handles were made from 40x40mm smooth planned from B&Q using a woefully underpowered router and various bits. Varnished the whole shebang with oodles of B&Q interior wood gloss.
So, spent £300ish altogether on the wood + £10 on hinges from eBay. Worktops were from TP and cost £25 each. Built-in oven & hob were a gift from her mother and came from Argos and cost around £170 for the two (decided against making them out of wood... ). Took about 4 months of most weekends and 2 hours most evenings after work. Much longer than I'd anticpated but there you go!
Soooo, a few rough bits but whadaya think? For a first time effort?
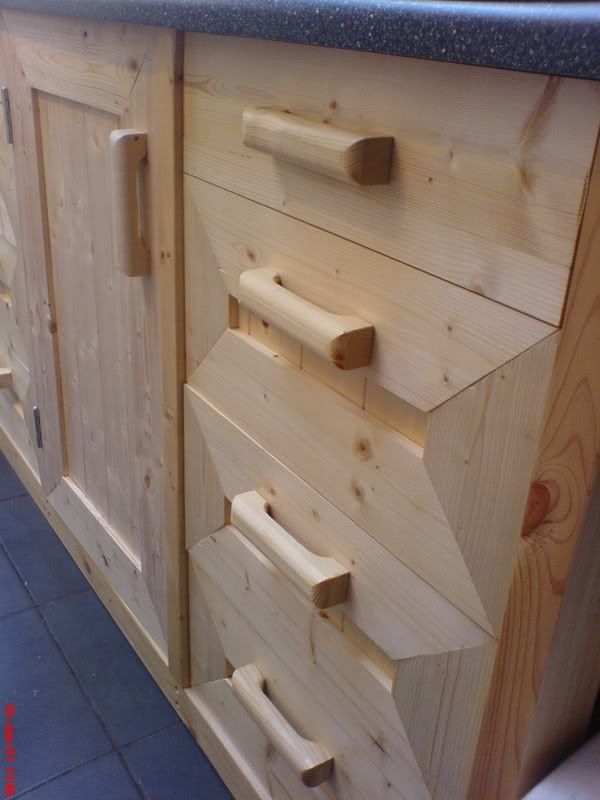
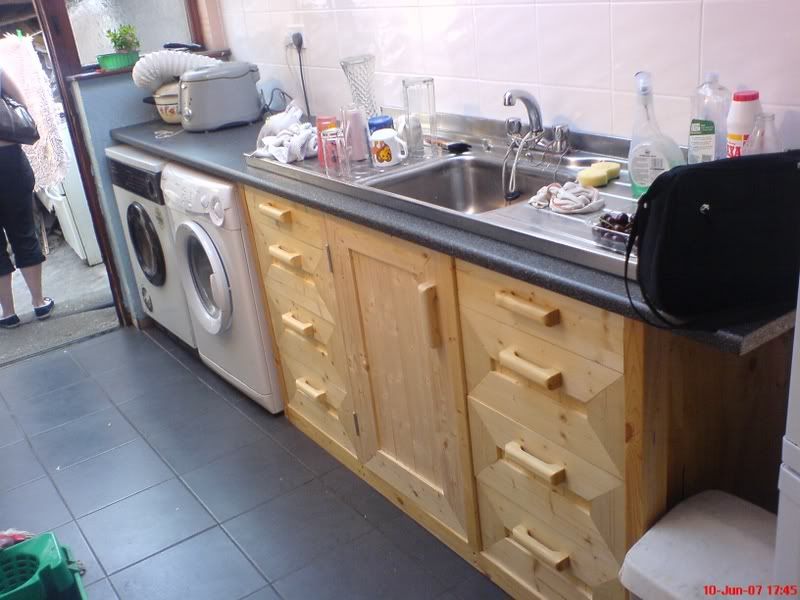
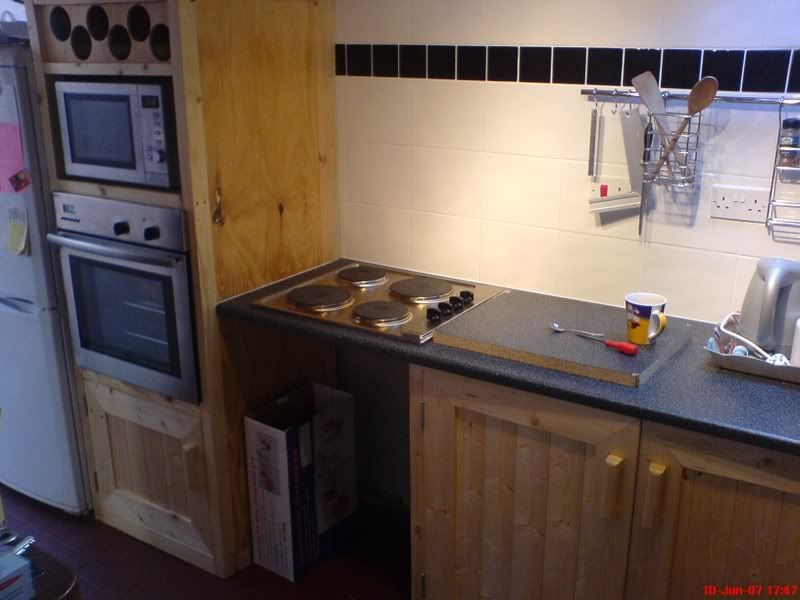
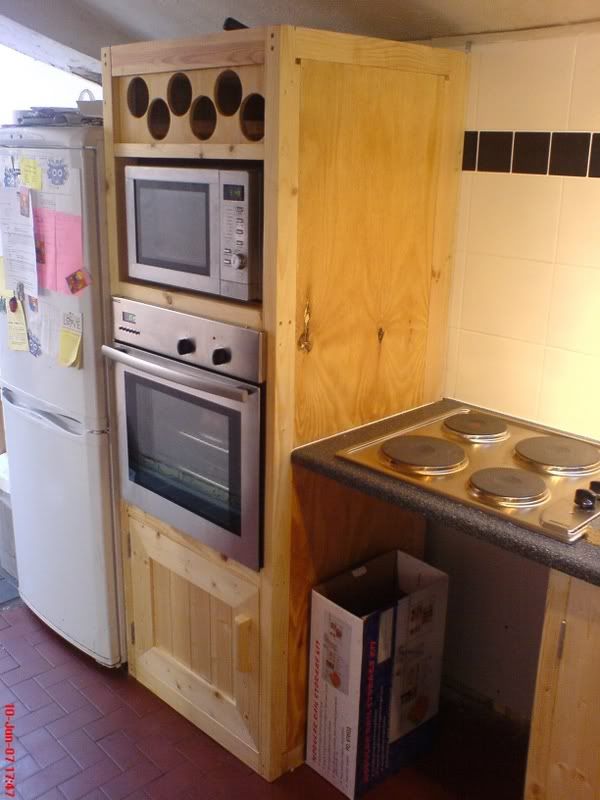
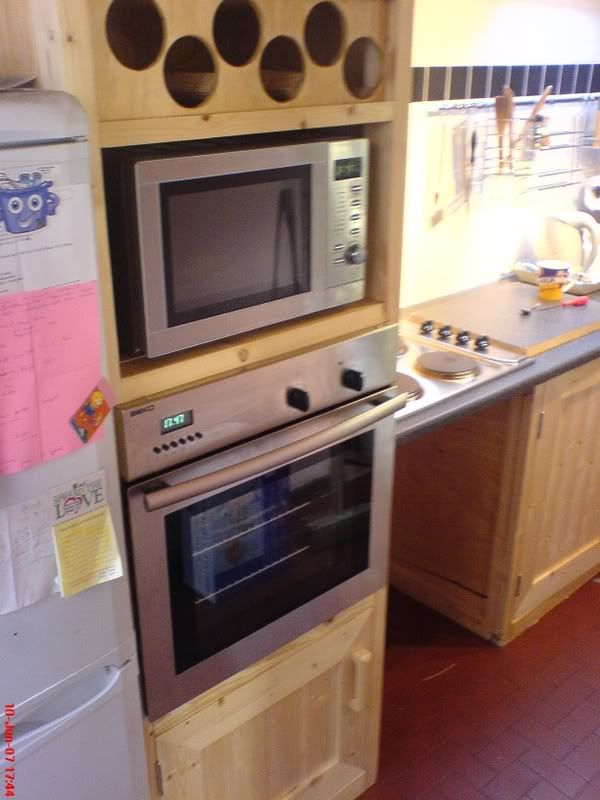
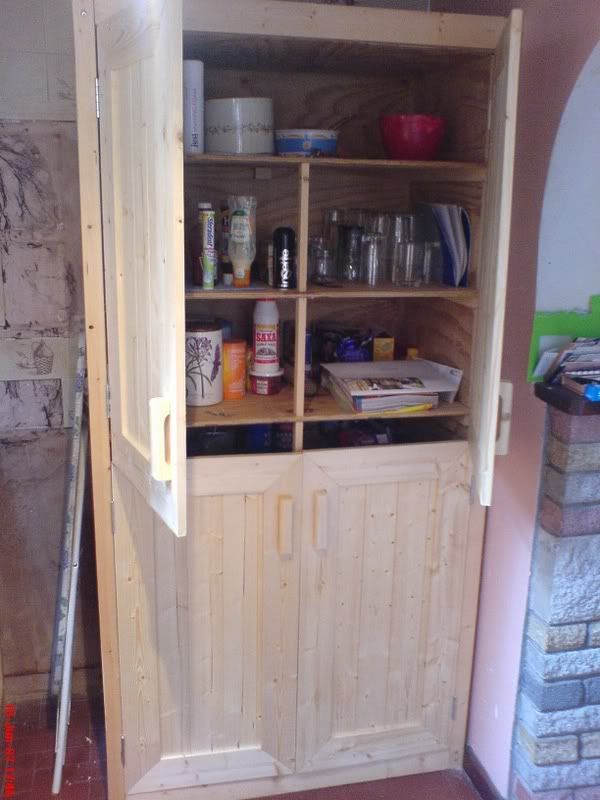
Doors are straight - wierd camera angle! Note the roots behind the tiles!
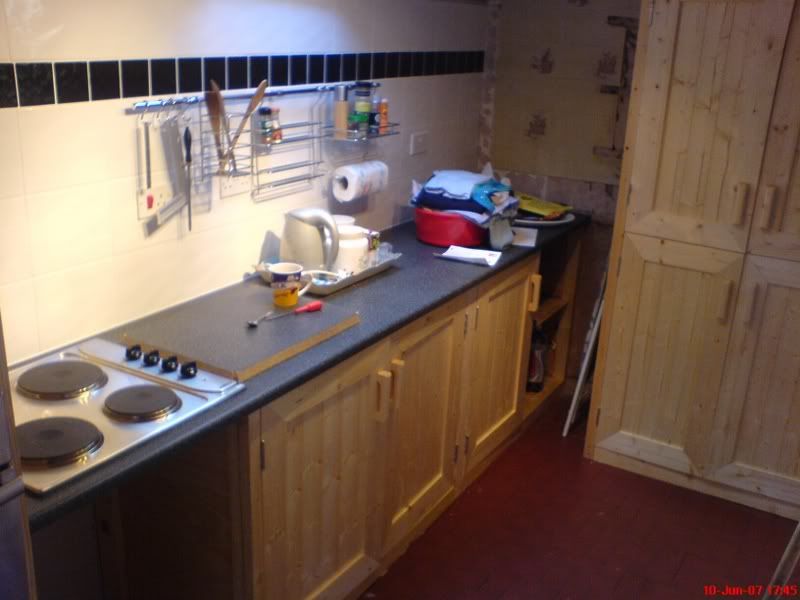
PS; the tilling was my own work. Was posted on here a few month back.
Anyway. In steps I, Master Bodger, extraordinaire. Sort out the leaky roof with a roll of flashing and a swift squirt of expandy foam. Not a brilliant job but it stopped the leaks! Replaced the soggy ceiling and stripped off mouldy tiles that had roots growing behind them!
After the first 3 months or so of the roof leaking, the whole family noticed they had developed breathing problems (asthma etc..). As i ripped out the tiles and ceiling, I discovered a shed load of mould. Coincidence?
As her son's fiancee was expecting a kid, she asked me to find out how much it would be to replace the rotten carcasses and put the whole mess right so as to prevent the wee bairn from getting ill. After a bit of research, (B&Q, Howdens etc..) i came up with an estimate (without fitting or appliances) of around £850. She said she could only find £500 at the most and went away a glum plum.
Anyhoo, veeeery long story short, I decided to have a bash at building the units and doors myself. Have done a couple of joinery projects before with limited success so I thought I could handle making what is basically a bunch of open topped and fronted boxes. Easy...
MIL had liked the look of some units she'd seen in Ikea and asked if I could copy them. 'Suuure' said I. 'Eeeeasy!'
Trawled around the building merchants and timber yard to try and find materials that would do the job without breaking the budget. Opted for 12mm ply from TravisPerkins for the sides and backs and 2x3 cls from B&Q for the main frame. Decided to make the doors from 90x18mm smooth planed planking and 90x7mm T&G. Handles were made from 40x40mm smooth planned from B&Q using a woefully underpowered router and various bits. Varnished the whole shebang with oodles of B&Q interior wood gloss.
So, spent £300ish altogether on the wood + £10 on hinges from eBay. Worktops were from TP and cost £25 each. Built-in oven & hob were a gift from her mother and came from Argos and cost around £170 for the two (decided against making them out of wood...
Soooo, a few rough bits but whadaya think? For a first time effort?


Doors are straight - wierd camera angle! Note the roots behind the tiles!

PS; the tilling was my own work. Was posted on here a few month back.

