The car 'told' Mrs Mottie that she had a puncture on the way to work in the A3 today so she came back home and took the Golf and left it to me. She wanted me to take it to a tyre shop for repair but I don’t trust them so I ran it up the workshop and found a screw in the n/s/f. I have the equipment so I did it myself. I suspect there’s not many on here that have the equipment so this is just to show you what should be done if the tyre is to retain its original speed and load rating. Obviously, a repair should only be made to a tyre that will meet the legal standards when repaired - above the minimum tread depth, no cords or bulges showing etc. Minor repairs should only be carried out if the damage is in the middle three quarters of the tyre tread area.
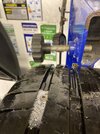
First, locate the primary damage and mark it. Usually it’s quite obvious but if no object visible, a soapy water solution will show you where it is.
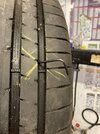
Next, remove the tyre and check for run flat or secondary damage inside the casing. Remove the object and determine angle of penetration.
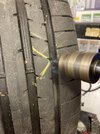
Ream out the hole at the correct angle of penetration to accept the plug (or mushroom) patch.
Buff up the inner casing to a Matt finish and remove any ridges to an area slightly larger that the plug patch. Apply adhesive and leave to completely dry.
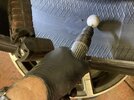
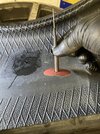
Pull the plug through the tyre and use the roller to ensure the patch is firmly in contact with the tyre casing.
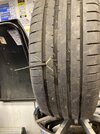
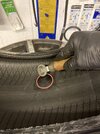
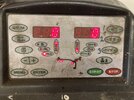
Fit a new valve as a matter of good practice, check the balance of the wheel. The tyre, which had only been balanced less than a month ago, was fitted in exactly the same position as it came off, was now out of balance.
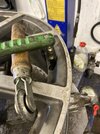

Removed all the old weights, rechecked and fitted new weights and checked again. Perfect!
Never accept a repair where they repair the tyre without even taking it off the rim unless it’s only a temporary get-you-home measure.
First, locate the primary damage and mark it. Usually it’s quite obvious but if no object visible, a soapy water solution will show you where it is.

Next, remove the tyre and check for run flat or secondary damage inside the casing. Remove the object and determine angle of penetration.

Ream out the hole at the correct angle of penetration to accept the plug (or mushroom) patch.

Buff up the inner casing to a Matt finish and remove any ridges to an area slightly larger that the plug patch. Apply adhesive and leave to completely dry.


Pull the plug through the tyre and use the roller to ensure the patch is firmly in contact with the tyre casing.


Fit a new valve as a matter of good practice, check the balance of the wheel. The tyre, which had only been balanced less than a month ago, was fitted in exactly the same position as it came off, was now out of balance.


Removed all the old weights, rechecked and fitted new weights and checked again. Perfect!

Never accept a repair where they repair the tyre without even taking it off the rim unless it’s only a temporary get-you-home measure.
Last edited:


